New
-
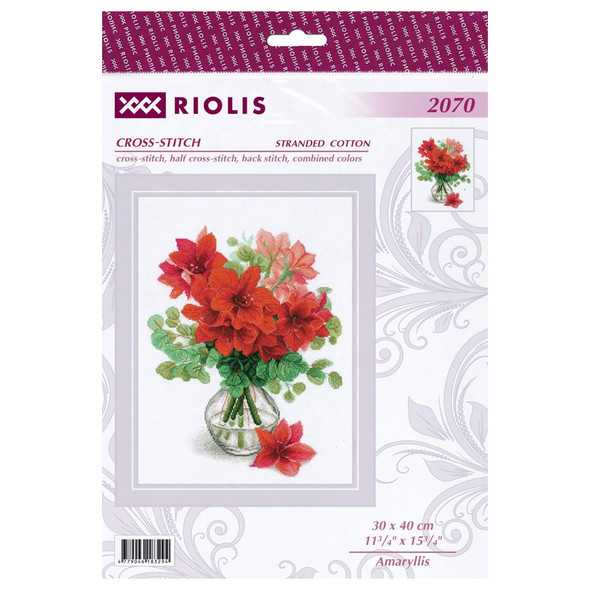

Riolis Cross Stitch Kit Amaryllis
$44.99Riolis Cross Stitch Kits contain threads made with either a 30% wool/ 70% acrylic blend or 100% cotton, each are supreme quality fibers which impart an outstanding look to your finished piece... -


Essentials By Leisure Arts Craft Eyes With Washers Animal 12mm Brown 6pc
$1.59Essentials By Leisure Arts Craft Eyes With Washers are hard plastic bolts with washers that make attaching quick and easy. The washer stabilizes the eyes from the back and decreases the chances of it... -


Riolis Cross Stitch Kit Carps
$50.49Riolis Cross Stitch Kits contain threads made with either a 30% wool/ 70% acrylic blend or 100% cotton, each are supreme quality fibers which impart an outstanding look to your finished piece... -


Essentials By Leisure Arts Crinkle Shred 2oz Royal Blue Bag
$2.49Essentials By Leisure Arts Crinkle Shreds are an interlocking crinkle-cut paper used for: attractive filler in baskets and gift boxes; shipping product that remains firmly nestled in place; or to add...


